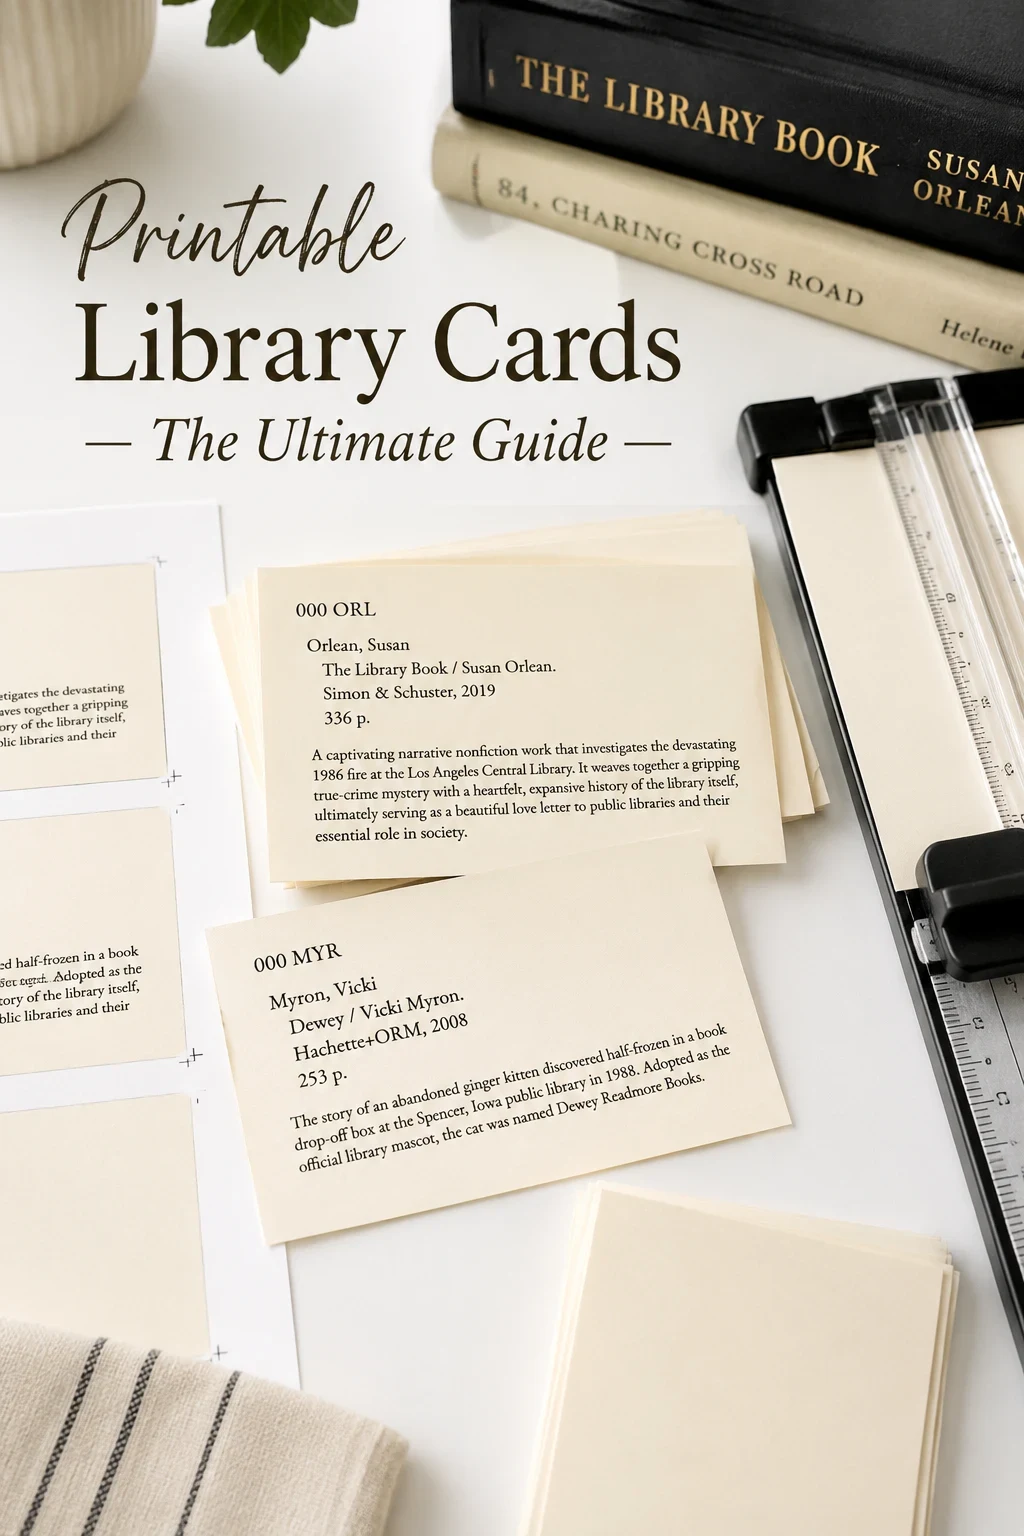
Printable library cards are easy to design and surprisingly easy to mess up. Most home-printed cards fail at the same two steps: the wrong paper, and a sloppy cut. Get those right and your cards look professional, even if they came out of an old inkjet on a Tuesday afternoon. This is the practical version of the guide - what to buy, how to print, and how to cut without the corners going crooked.
Step 1: Choose the Right Cardstock
Regular printer paper will not feel like a library card. The sweet spot is between 65 and 110 lb cover stock. Anything lighter feels flimsy, anything heavier may not feed through a standard home printer.
- 65 lb cream stock - the closest match to traditional library cards
- 80 lb white cover - a clean, modern feel
- 110 lb ivory - sturdier, ideal for cards that get handled often
Step 2: Pick Your Card Size
The classic dimensions are 3 inches by 5 inches, which is also the size of a standard index card. If you want something less common, 4 by 6 gives you more room for a summary. Set your generator to one of these sizes before you print, not after - resizing in print preview almost always shifts the layout.
Step 3: Print a Test Sheet First
Always run one test page on plain paper before committing your cardstock. Check that the margins are correct, that nothing is cut off, and that the text is dark enough. Inkjet text on uncoated cardstock can look slightly lighter than you expect, so bump up the print quality if it does. A free printable library cards generator will usually give you a downloadable PDF that prints predictably across most home printers.
Step 4: Cut With the Right Tool
Scissors are fine for one card. For a stack, you want one of these:
- Guillotine trimmer - the fastest tool for straight, repeatable cuts
- Rotary trimmer - slightly safer, very clean edges
- Craft knife and metal ruler - cheapest, requires steady hands
Whichever you use, mark your cut lines lightly first and cut a few sheets stacked together rather than one at a time.
Step 5: Get the Edges Right
Three small habits separate a homemade card from a professional one. First, replace your cutter blade more often than you think - dull blades crush edges. Second, run your finger over each cut edge after trimming and lightly sand any rough spots. Third, if you want a "real" library card feel, round the corners with a small corner punch.
Step 6: Store and Transport
Once printed and trimmed, store cards in an index card box or vintage drawer. If you are gifting or shipping a set, sandwich them between two pieces of stiff chipboard, slip them into a glassine envelope, and tie with twine. They travel beautifully and they look great unwrapping.
Helpful supplies for printable catalog cards
Some links on this page are affiliate links. If you purchase through them, we may earn a small commission at no extra cost to you.

Heavy blank cards for printing catalog cards with a warm vintage look.

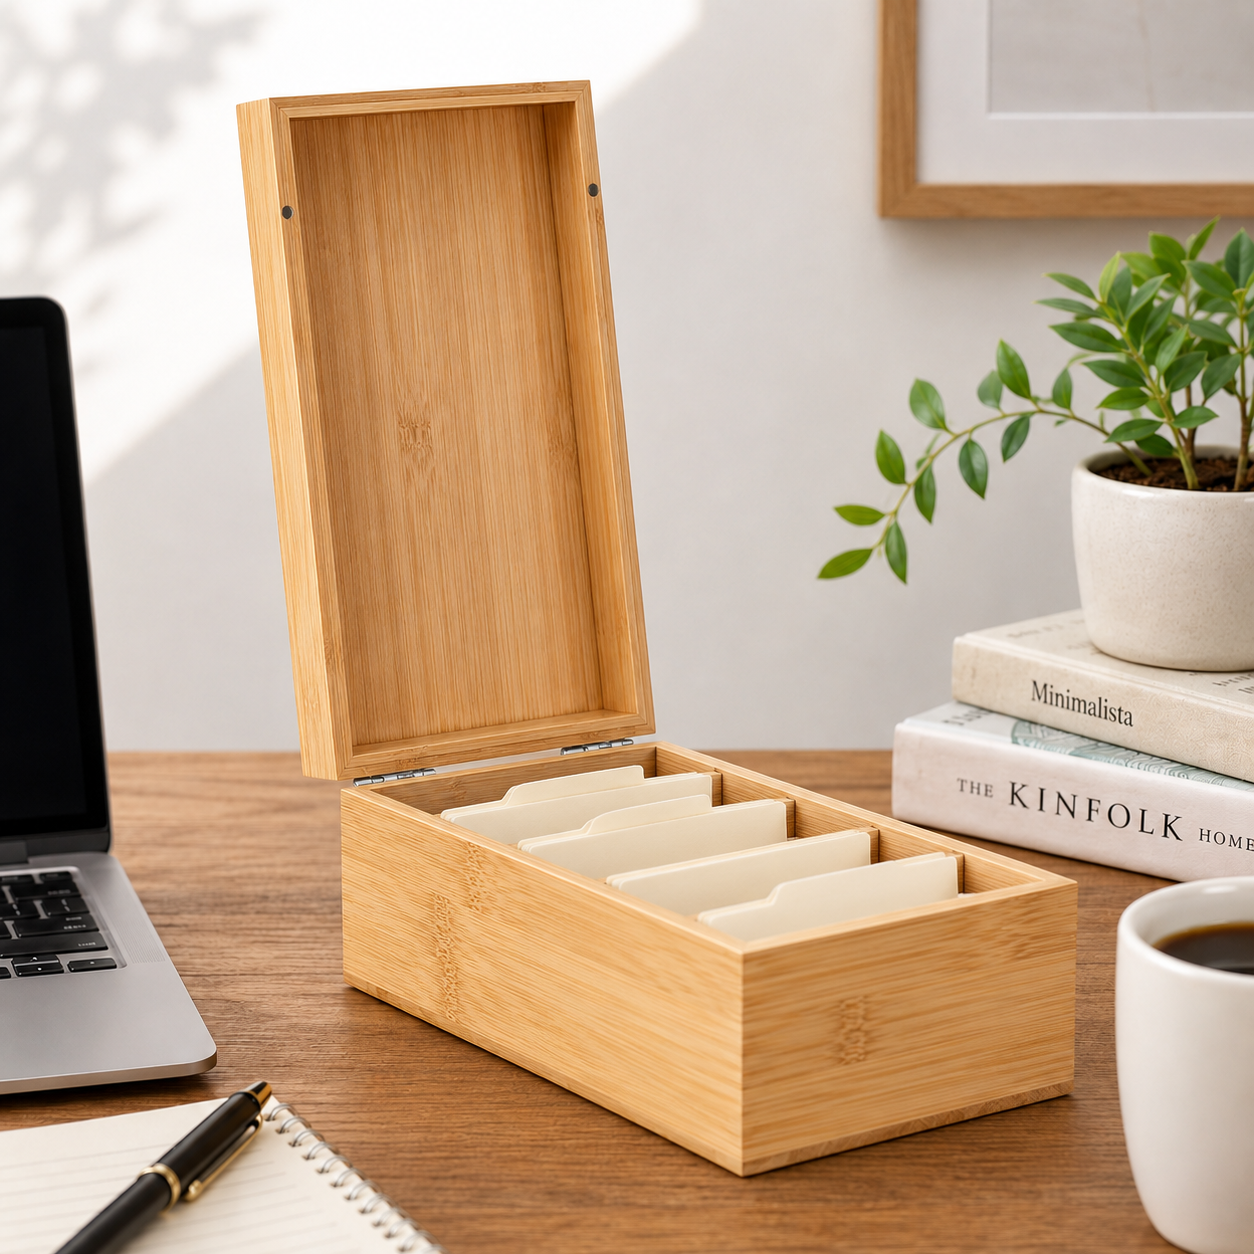
A clean desktop box for sorting larger catalog card collections.
Print your first set
Open the generator and produce printable library cards ready for cardstock.
Open the generator